
How to Set Up a Website
A question I used to see a lot from aspiring writers when I was still working in publishing was Do I need a website? Do I need to get on Twitter/Facebook/Tumblr/Instagram/[insert social media platform]? What do agents and editors mean when they say "online presence"?
I won't lie; whenever I received a submission from an agent, the first thing I did was Google that author. I wasn't necessarily looking to see if the author had an enormous platform or following; I just wanted to get a sense of the person behind the words. For me, it was always the most helpful if the author had a personal website where I could go, read their bios, find their social media links, etc. Not having a professional website isn't a deal-breaker, but these days, it would strike me as a little odd.
I've been coding and designing websites since I was in high school (does anyone else remember Geocities? No? Bueller? Bueller? Okay, I'm just old then.), so I'm pretty comfortable with this sort of thing, but I know this entire process bewilders a lot of people, so I thought I would write a tutorial for our readers (and some of our members!) to help them out.
[box type="info"]Full disclosure: Here at PubCrawl, we use Bluehost, so the screenshots used in the tutorial will be of their website. We've been pretty happy with Bluehost in the five years we've been with them and would never endorse something we ourselves did not use or wholeheartedly support. There are a myriad other hosting options out there, but if you choose to go with Bluehost, we would appreciate it if you would click on the link we've provided, as it generates a little revenue for us at PubCrawl. We do what we love here for love and not money, but a little kickback would help us fund our giveaways and keep the lights on![/box]
This is a bit of a long post with a lot of images, so the rest is under the cut!
1. Pick a domain name.
A domain name is your address on the internet, as it were. Ours is publishingcrawl.com, but as an writer, it's best to have a domain under the name you're writing under. (For example: Mine is sjaejones.com because I am writing as S. Jae-Jones.) The first thing I would do is check to see if your name is available. The easiest way to do that is simply type yourname.com into your browser and see if anything turns up.
If your name is already taken, then you can add -writer or -books to the end of your name, or else try .net or .biz, although .com is probably best for search purposes.
2. Select a web hosting plan and register your domain.
Most web hosting services will register your first domain for free, and for the sake of simplicity, I would recommend you do it all at once.[2. If only to avoid the headache of having to go into your domain registration page and point the DNS servers to a different host, etc.] Select your plan of choice. (For most writers who don't expect heavy blog traffic, the most basic plans are sufficient. You can always upgrade later.) Register your new domain name with your host provider.
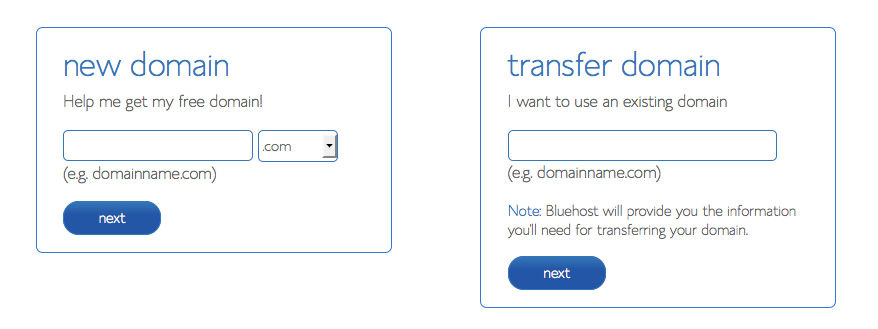
3. Install Wordpress.
Okay, now here's where things get a bit complicated. Think of a website as a piece of property: the host is the land itself and the domain is the address. If you want to live on that piece of land, you need to build a house.
If you know HTML, you could code that house yourself. (I've done so; it's incredibly time-consuming and exhausting.) Or you could download and install a CMS, or Content Management System, like Wordpress, Joomla, or similar. We at PubCrawl use Wordpress (and I do for my own website as well).
Once you've set up your domain, you will prompted to set up a username and password for your host. Once you've done that, log in to access your Control Panel (usually called cPanel by most hosting services).
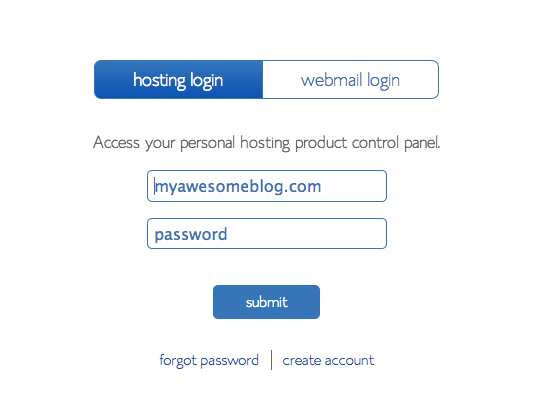
Once you've been logged in, at the top navigation bar, you will see cpanel. Clicking on that will lead you to your Control Panel, which will look something like this:
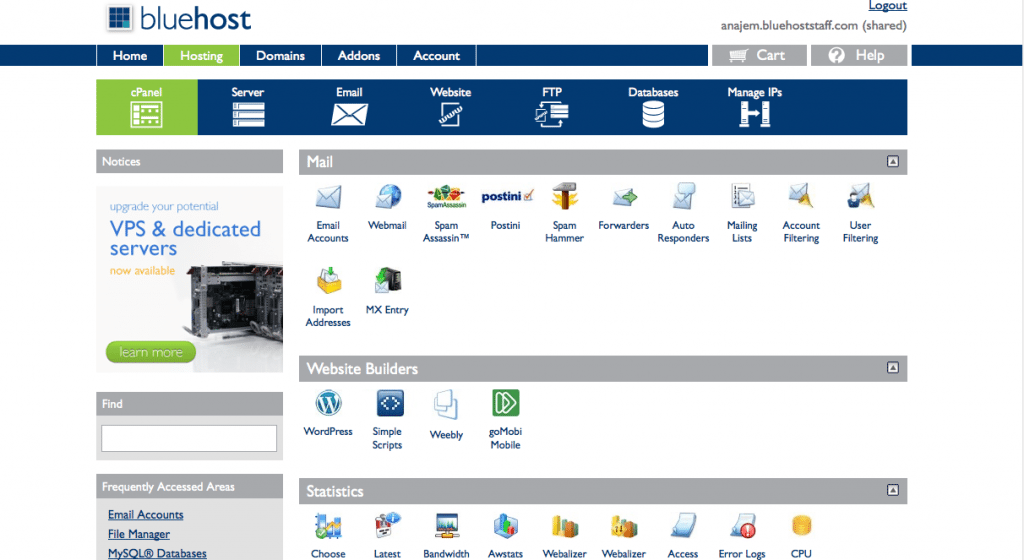
Bluehost and other providers will often provide a 1-step installation for Wordpress and other CMS builders. Under Website Builders, click on the Wordpress logo and you'll be brought to a page that looks like this:
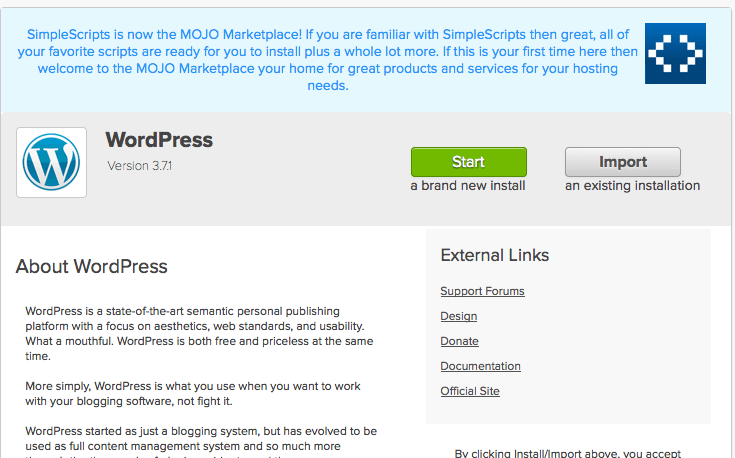
Start a brand new install, select your domain name, and Bluehost will do the work for you.[2. As opposed to having to set up an FTP login, finding an FTP client, access MySQL databases, fiddling with wp-config.php files, etc. I'm an old hat at this, you guys.] Set up your Wordpress login with a username and password.
Once everything's been installed, in order to access the backend of your website, type www.yourname.com/wp-admin/ and you'll see this:
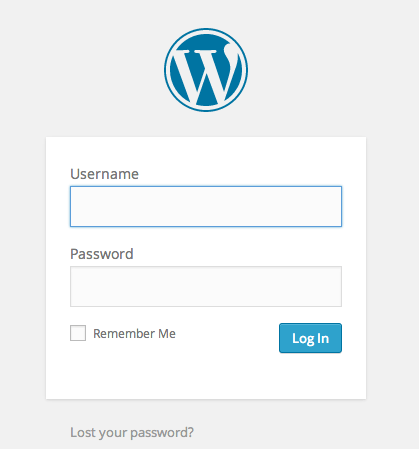
Fill in your username and password and that will take you to your Dashboard, which looks like this:
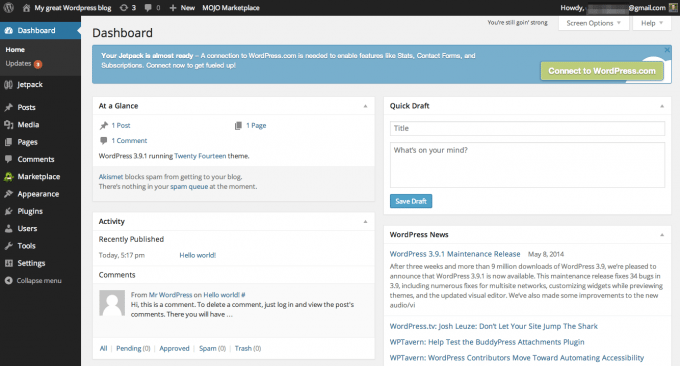
Ta-da! Now your website has been set up. Time to make it look pretty.
4. Select a theme to install on your website.
The default Wordpress theme is actually pretty decent, but if you want to put your own personal stamp on your website, I would recommend browsing the Wordpress themes gallery. There are a lot of themes you can choose, many of them for free. You can also hire a designer to make your website more personal at this point, but to be honest, a lot of the free themes at Wordpress are clean and professional, so there isn't a huge need to break your bank account.
5. Fill your website with content.
In your Wordpress Dashboard, you'll see an option on the lefthand navigation bar titled Pages. This is where you can create different pages for your website: an about page, information about your books, a blog, a contact page, etc. As an editor, I didn't need all that much, just a place to contact you. Readers may like a lot more extra content, so include as much information about your book as you please!
That's all for this post. Hope this was helpful for everyone who's looking to set up a website and didn't know where to start. If you have any further questions, leave them in the comments and I'll try my best to answer, although each case will be different, of course.


